No Sew Amigurumi: What It Is, How It Works and the Easiest Patterns to Start With
If sewing on legs and ears is the part of amigurumi you dread, no-sew construction is for you. Here is exactly what "no sew" means, how designers make it work, and how to choose a first pattern.
Save this guide to Pinterest
Ask a room full of crocheters which part of amigurumi they like least and most hands go up for the same answer: assembly. You finish a lovely round body, then face a pile of tiny legs, ears and tails that all need pinning, sewing and re-sewing until they sit straight. No sew amigurumi removes most of that step. This guide explains what the term really means, the techniques behind it, what still needs a needle, and how to choose an easy first pattern.
What does "no sew amigurumi" mean?
In a traditional amigurumi pattern every part is made separately: a head, a body, four legs, two ears, maybe a tail. Each part is stuffed and closed, then sewn to the others with a yarn needle. A no-sew pattern changes the order of the work so that the hook does the joining instead of the needle. Appendages are crocheted straight into the rounds of the body, or joined by crocheting through two layers at once, while the body is still open.
The result is a toy that is finished, or almost finished, when the last stitch is made. There is no assembly stage where a leg ends up at a strange angle, and there are far fewer yarn tails to weave in.
No sew vs low sew
You will often see a second label: low sew. A low-sew pattern still has a few small pieces to attach with a needle, such as a muzzle, patches or a tail, but keeps that sewing to a minimum and explains exactly where each piece goes. Both are great for beginners; low-sew simply gives the designer more freedom with shapes that are hard to crochet in place.
How no sew construction works: 4 common techniques
Designers mix and match a handful of techniques. Knowing them makes any no-sew pattern easier to read.
1. Bobble and cluster features
A bobble is several unfinished stitches worked into the same stitch and closed together, so they puff out from the fabric. On amigurumi, bobbles make perfect little feet, legs, noses and tails. Because they are worked as part of a normal round, there is nothing to attach later. The no sew frog crochet pattern uses exactly this idea: all four legs are bobbles worked into two of the body rounds.
2. Features crocheted out from a body stitch
Here you pause the round, work a short sequence of chains and stitches outward from a marked stitch (a gill, an antler, a fin), then return to the round and carry on. The axolotl's frilly gills are built this way, three on each side of one round.
3. Join-as-you-go through both layers
A flat or slightly stuffed piece such as a flipper or an arm is made first and left open. When the body reaches the right round, you hold the piece against it and work the next stitches through both the piece and the body. The limb is locked in place by the round itself.
4. Colour changes instead of appliqués
A belly patch, a muzzle or a scarf does not have to be a separate circle sewn on top. Changing yarn colour for a set number of stitches across a few rounds "paints" the shape into the fabric. Clean colour changes take a little practice, which is why good patterns teach them step by step.
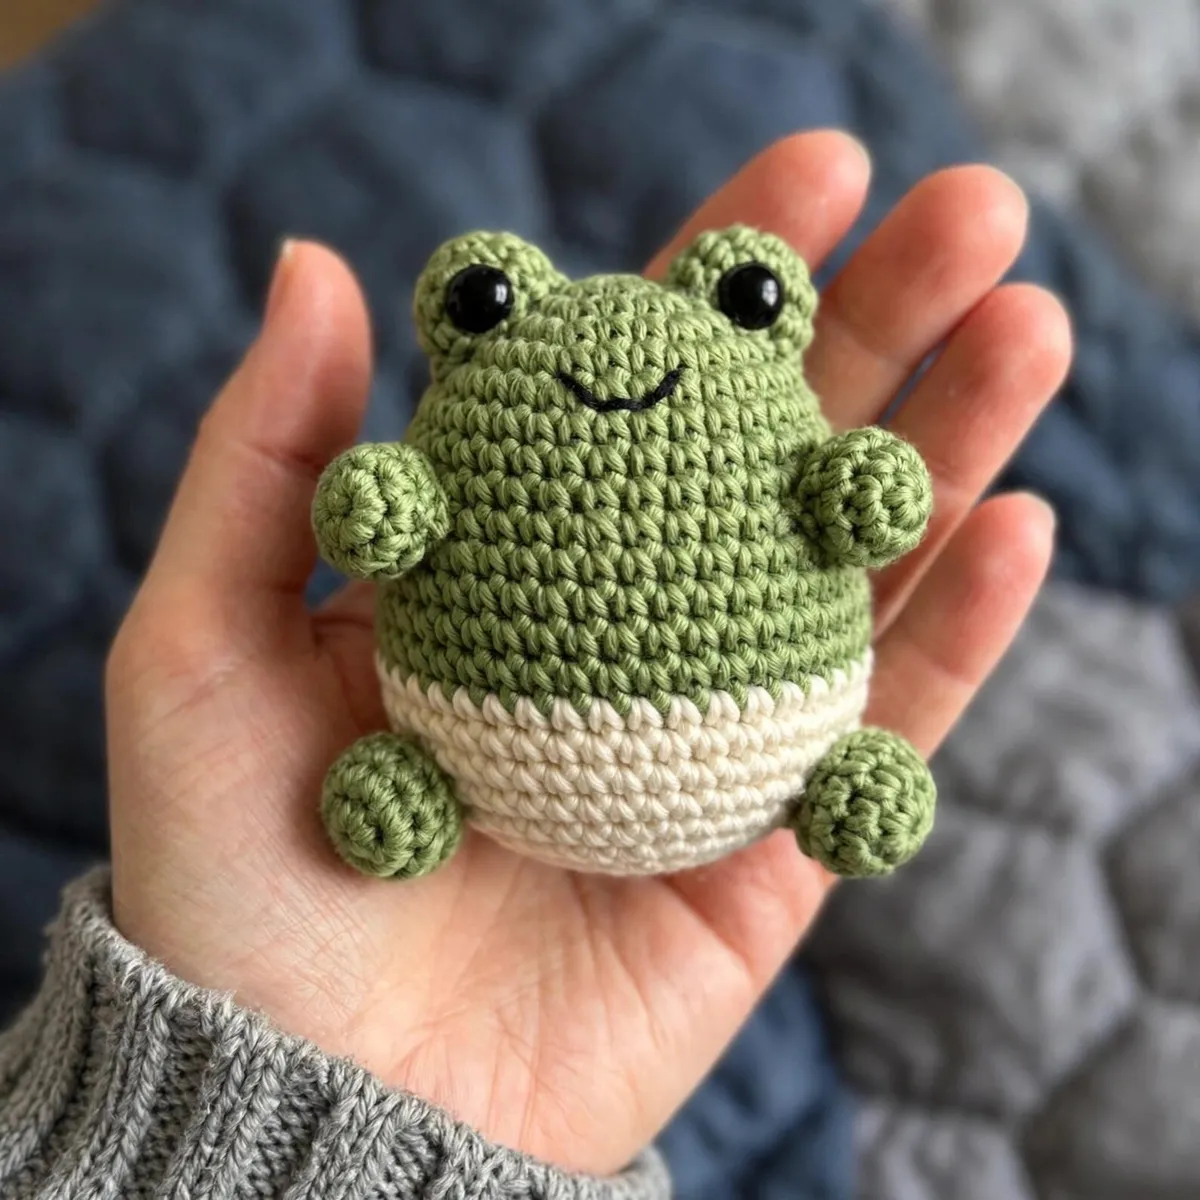
No-Sew Mini Sitting Frog · LoopSouk pattern
Meet the LoopSouk no-sew mini sitting frog: one piece, bobble legs worked in, a cream belly by yarn change, and an optional keychain loop. 8–9 cm, DK yarn, 3.5 mm hook.
≈ $3.00 · instant PDF download
What still needs a needle (and why that is fine)
"No sew" almost never means "no yarn needle at all". Expect to:
- Close the last opening. After the final decrease round you thread the tail through the front loops and pull it shut. That is finishing, not sewing parts together.
- Weave in a couple of ends. Far fewer than a traditional pattern, but still a few.
- Embroider small details. A smile, eyebrows or cheeks are often a few stitches of yarn or thread.
The big difference is that none of these steps change the shape of the toy, so they cannot ruin it the way a crooked leg can.
Why beginners (and market makers) love no sew patterns
- Fewer pieces to lose. One shape instead of seven or eight small parts.
- Consistent results. Because parts are placed by stitch count, the tenth frog looks like the first.
- Faster. Without assembly, small makes go much quicker. The LoopSouk mini frog and mini axolotl each take about 60 to 90 minutes.
- Sturdier. A leg that is part of the fabric cannot work loose, which matters for keychains and bag charms that get handled all day. See our crochet keychain ideas to sell for more on that.
Beginner tips for your first no sew amigurumi
- Use a stitch marker every round. Features are placed by stitch number, so one extra stitch moves a leg. Count at the end of each round.
- Read the whole round before you start it. No-sew rounds often contain a feature in the middle ("sc 4, BO5, sc 6..."). Knowing where it falls stops you from rushing past it.
- Insert safety eyes before you close. Once the head is shut you cannot reach the backs. Most patterns tell you the round; place them, check from the front, then lock the washers.
- Stuff as you go. Small one-piece shapes are hard to stuff through a tiny opening, so add fibrefill a few rounds before the end and top up just before closing.
- Master two techniques first. The magic ring and the invisible decrease appear in almost every amigurumi pattern. Ten minutes practising each will make everything else easier.
- Check which side is out. Bobbles pop toward the back of your work as you crochet. Patterns say whether that side becomes the outside; if your bobbles end up inside, you may be working inside out.
Easy no sew patterns to start with
All six patterns below are from the LoopSouk shop, written in US terms with each step explained. They are listed roughly from quickest to biggest.
Mini sitting frog
About 8 to 9 cm tall in DK yarn with a 3.5 mm hook and 10 mm safety eyes. Base, body and head are one piece, the four legs are bobbles, and an optional keychain loop is chained off the final round. A great first project. Read the frog article.
Mini chubby axolotl
About 8 to 9 cm long, worked head to tail as one capsule with six frilly gills crocheted into round 9. Same DK yarn and 3.5 mm hook, 8 mm eyes, and a keychain loop option. Read the axolotl article.
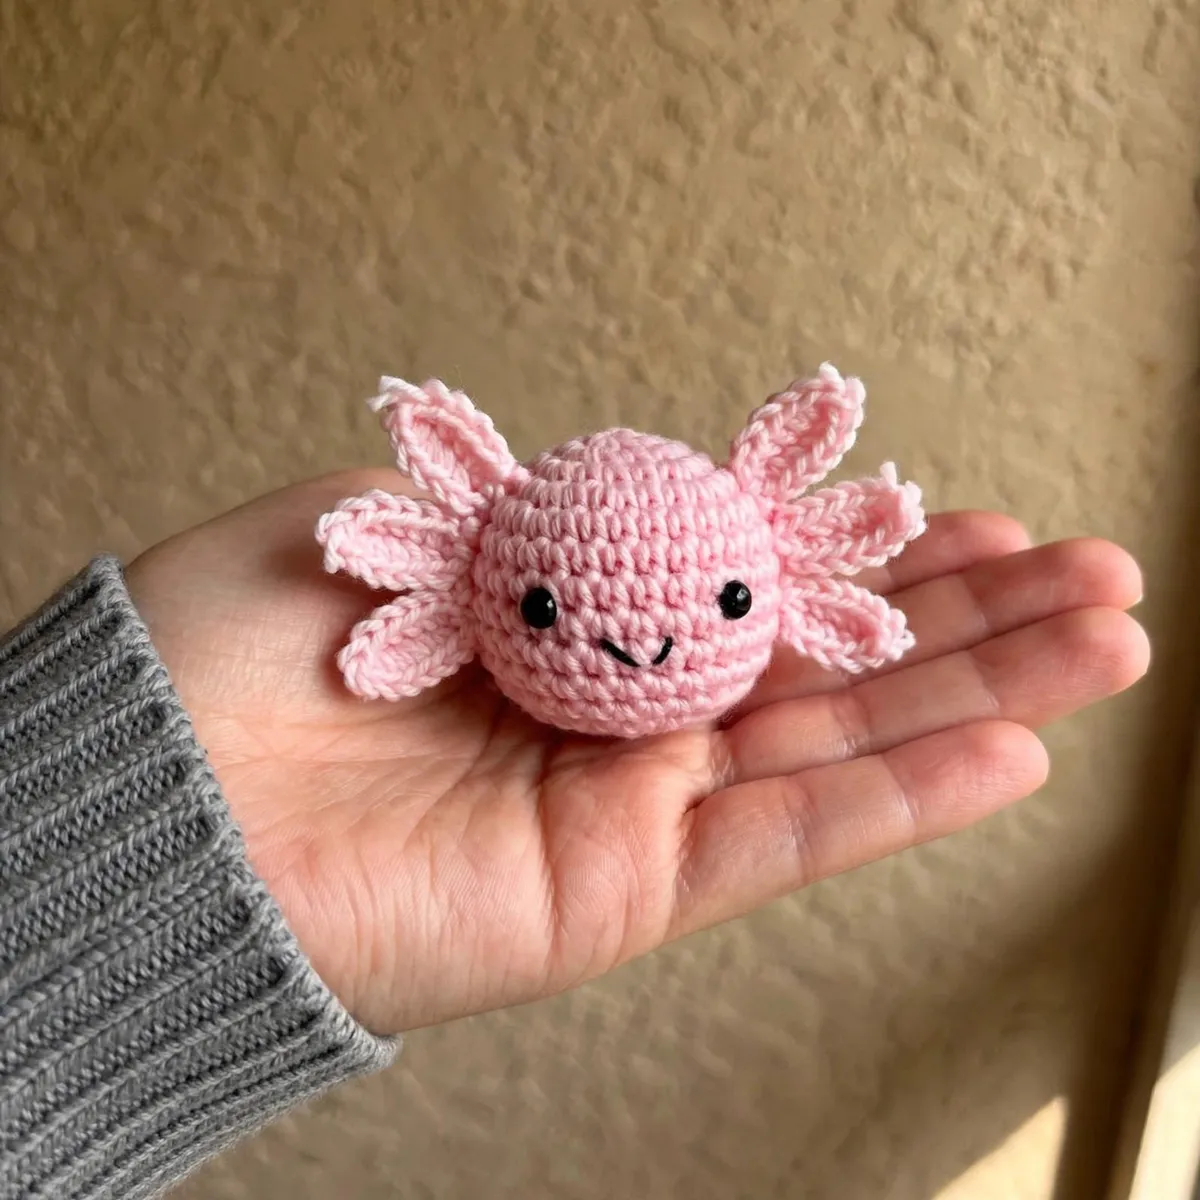
No-Sew Chubby Axolotl · LoopSouk pattern
A kawaii no-sew axolotl worked head-to-tail in one chubby piece, with six frilly gills crocheted in. 8–9 cm, DK yarn, 3.5 mm hook, 4 colourways, plush or keychain.
≈ $3.00 · instant PDF download
Pip the mini penguin
A 10 cm penguin ornament with bobble beak and feet and join-as-you-go flippers, in DK yarn with 6 mm eyes. It hangs from the tree or fits in a stocking. Read the penguin article.
One-piece reindeer
Head and body in one piece with ears and antlers worked into the rounds. About 15 to 18 cm in plush chenille or about 10 cm in DK/worsted yarn. Read the reindeer article.
Mini Christmas tree garland
Five 7.5 cm trees with ornament bobbles worked in, no sewing or glue, strung on an 80 cm cord. Read the garland article.
Barnaby the gingerbread bear
The big one: a 22 to 24 cm plush in super-bulky yarn with a 6 mm hook, roughly 3 to 4 hours of crocheting, with his bow tie crocheted on rather than sewn. Read the gingerbread bear article.
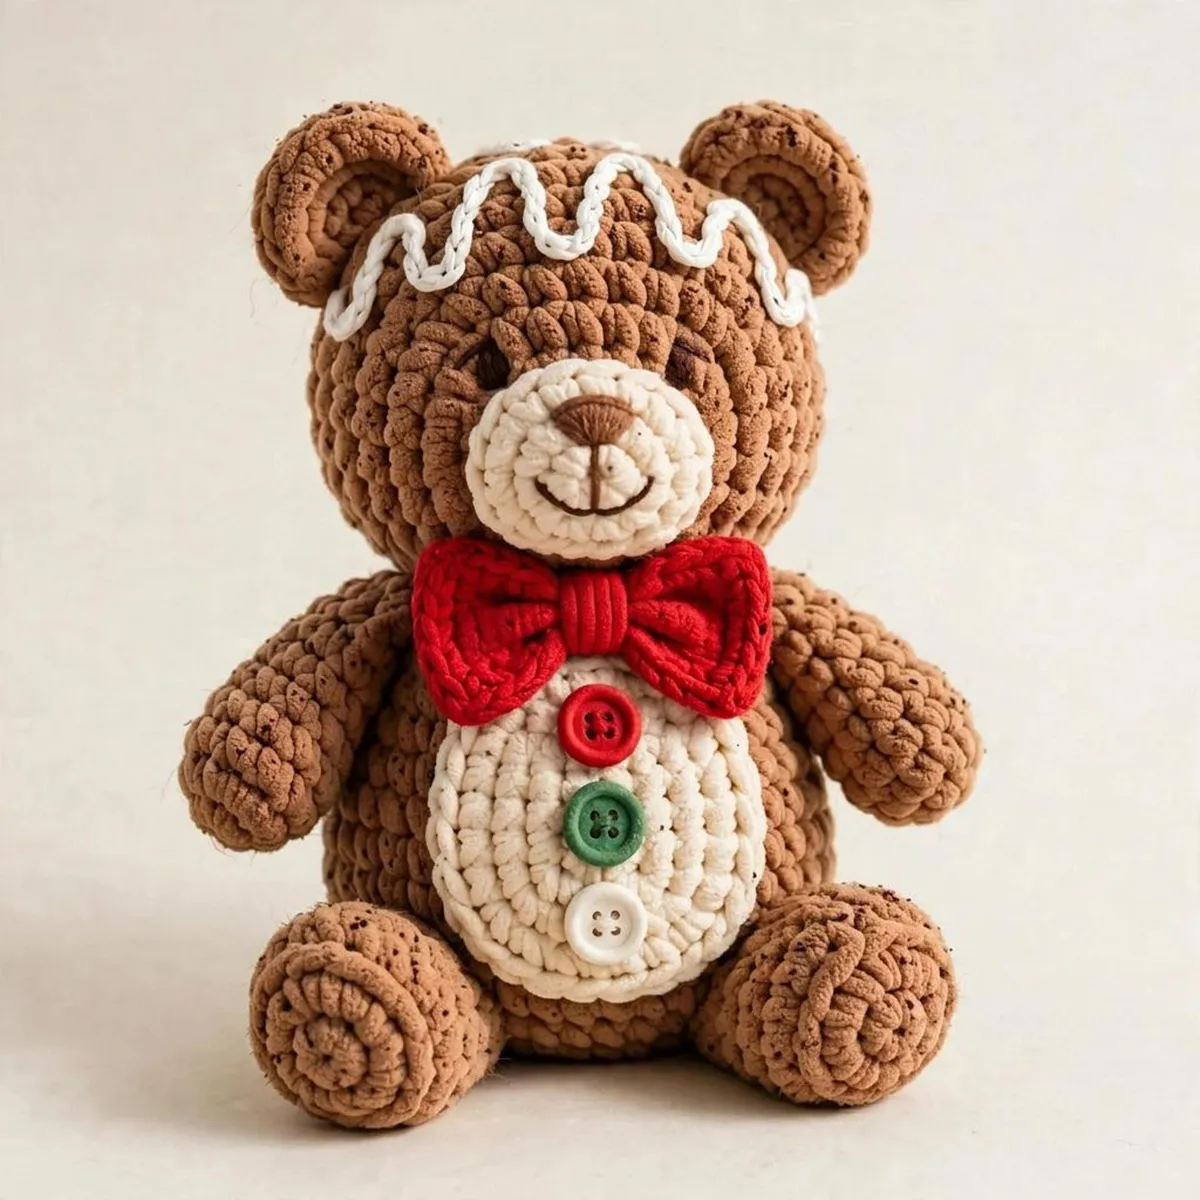
Barnaby the Gingerbread Bear · LoopSouk pattern
Barnaby is a big no-sew gingerbread bear crochet pattern: approx. 22–24 cm tall in super-bulky yarn with a 6 mm hook, a crocheted-on bow tie and bobble buttons. About 3–4 hours.
≈ $3.00 · instant PDF download
Want something cuddly but don't mind a little sewing? The chenille panda is a low-sew pattern where every attached piece is explained.
Can you turn a regular pattern into no sew?
Often, yes, if the parts are simple. Make the limbs first and leave them open and flattened. Work the body until the round where each limb should sit, then crochet through the limb and the body together for as many stitches as the limb is wide. Small round features such as tails can become bobbles. Complicated shapes, like big floppy ears that need to sit at an angle, are usually easier to keep as sewn pieces. If you are new to amigurumi, start with a pattern designed as no-sew so the stitch counts already account for the joins.
FAQ
What is no sew amigurumi?
No sew amigurumi is a crocheted toy where legs, ears, gills, antlers and similar parts are crocheted into the body as you go, using bobbles, join-as-you-go stitches or features worked out from a body stitch, instead of being made separately and sewn on at the end.
Do no sew amigurumi patterns need any sewing at all?
Usually only finishing: closing the last small opening, weaving in a few ends and sometimes embroidering a smile. None of the main parts are sewn together.
Are no sew amigurumi patterns good for beginners?
Yes. They have fewer pieces, no assembly stage and features placed by stitch count, so results are more consistent. Learn the magic ring, single crochet, increase and invisible decrease first.
What is the difference between no sew and low sew?
No sew means the main parts are all crocheted in place. Low sew means a few small pieces, such as a muzzle or patches, are still attached with a needle, but sewing is kept to a minimum.
How long does a small no sew amigurumi take?
It depends on size and yarn. The LoopSouk mini frog and mini axolotl each take about 60 to 90 minutes; the chunky gingerbread bear takes roughly 3 to 4 hours.
Looking for your next project? See every LoopSouk PDF pattern in one place, each with its own article and Etsy link.
Browse all LoopSouk patterns

