Invisible Decrease Crochet: How to Do It (and Why It Beats a Regular sc2tog)
The invisible decrease is the small change that makes amigurumi look professional. Learn it in six steps, see why it beats a standard sc2tog, and fix the most common problems.
Save this guide to Pinterest
Look closely at two amigurumi heads and you can often tell which maker used an invisible decrease. One has a smooth curve; the other has small bumps and gaps where the decreases are. The good news is that the invisible decrease is no harder than a regular one. It simply uses different loops.
What is an invisible decrease?
A decrease joins two stitches into one so your piece gets smaller, which is how you shape the top of a head or the bottom of a body. The invisible decrease (often written dec or inv dec in amigurumi patterns) does this by working through the front loops only of the two stitches. Because the back loops are left alone, the fabric stays smooth on the outside and there is no extra bulk.
Invisible decrease vs regular decrease (sc2tog)
A standard single crochet two together (sc2tog) inserts the hook through both loops of each stitch and pulls up a loop from each one. That creates an extra strand that shows as a small bump or a gap, which is fine on a scarf but noticeable on a round toy.
| Invisible decrease | Regular sc2tog | |
|---|---|---|
| Loops used | Front loops only | Both loops of each stitch |
| Loops on hook before finishing | 3, then 2 | 3, then 1 (after pulling through all) |
| Look on the outside | Smooth, nearly identical to sc | Small bump or gap |
| Best for | Amigurumi, toys worked in the round | Flat pieces, garments |
Both reduce the stitch count by one. You can substitute one for the other without changing the pattern.
How to do an invisible decrease, step by step
- Find the front loops. Look at the top of the next two stitches. Each has a front loop (closest to you) and a back loop. For an invisible decrease you only use the front loops.
- Insert into the first front loop. Insert your hook under the front loop only of the next stitch, from front to back. Do not yarn over.
- Insert into the second front loop. Without yarning over, insert the hook under the front loop only of the following stitch. You now have three loops on the hook.
- Yarn over and pull through two loops. Yarn over and pull through the two front loops. You now have two loops on your hook.
- Finish the single crochet. Yarn over again and pull through both loops on the hook. One stitch now sits on top of two, and the decrease is complete.
- Count and continue. Each invisible decrease reduces the round by one stitch. Count at the end of the round to make sure the total matches the pattern.
Practice tip: make a small ball. Start with a magic ring, increase to 24 stitches, work 3 even rounds, then decrease back down. The decreasing half is where you will see the difference.
Common problems and fixes
There are still small holes
Make sure you are going under the front loops of two stitches before yarning over, and pull the yarn through snugly. If holes persist, try a slightly smaller hook for the decrease rounds.
My decreases look like a line or ridge
If every round starts in the same place, the decreases stack up. Patterns usually stagger them, for example "sc 2, dec" one round and "sc 1, dec, sc 1" the next. Follow the order exactly.
I keep losing count
Each decrease uses two stitches but makes one, so it's easy to skip a stitch. Put a stitch marker in the first stitch of the round, and count in pairs: "sc, sc, dec" is four stitches used and three made.
I'm working in chenille and can't see the loops
Feel for the front loop with your hook tip, or use a contrasting stitch marker. Our chenille yarn amigurumi tips cover this in detail.
Using the invisible decrease to close amigurumi
At the end of most amigurumi you decrease down to 6 stitches, then close the last hole:
- Finish stuffing before the hole gets too small.
- Cut the yarn, leaving a 15 cm tail, and pull it through the last loop.
- Thread the tail on a yarn needle and go through the front loop of each of the remaining stitches, from the outside in.
- Pull tight, like a drawstring. The hole closes.
- Push the needle through the body and out the other side, then trim close.
Using front loops for the closure matches the invisible decrease and keeps the finish smooth.
Patterns to practise it on
The invisible decrease is taught as a technique lesson in these LoopSouk patterns, so you can learn it with photos as part of a real project:
- Pip the mini penguin: 10 cm, DK yarn, 8 technique lessons
- Mini sitting frog: 8 to 9 cm, about 60 to 90 minutes
- Chubby sitting panda: about 20 cm in chenille
- One-piece reindeer: 15 to 18 cm in chenille or about 10 cm in DK/worsted
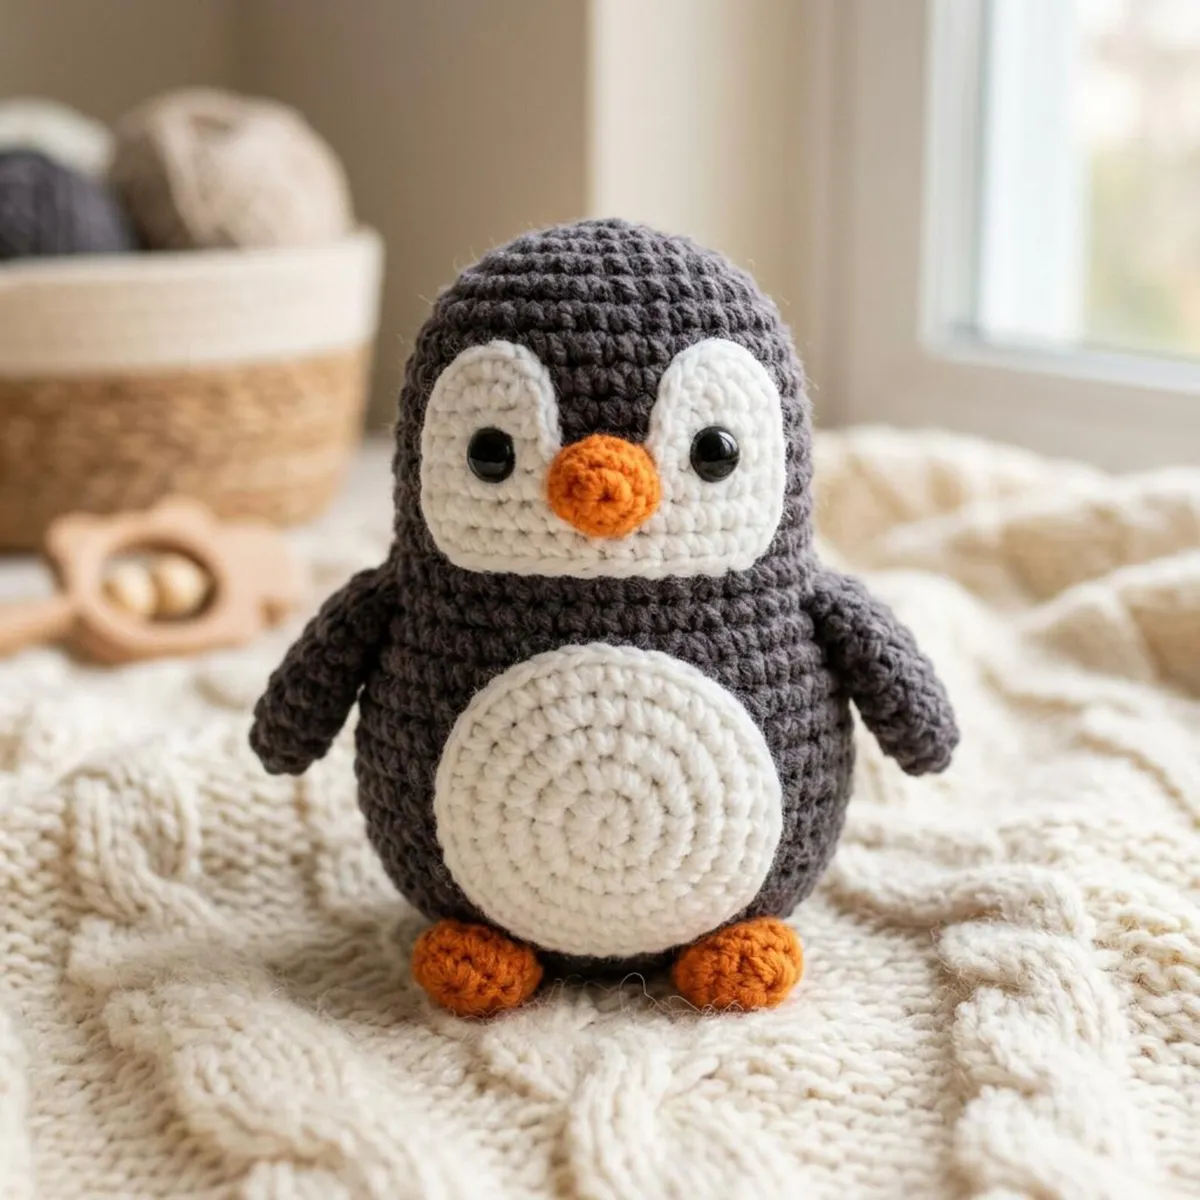
Pip the Mini Penguin · LoopSouk pattern
Pip the Mini Penguin is a no-sew crochet Christmas ornament you can finish in one evening: flippers worked in, bobble beak and feet. Approx. 10 cm tall in DK yarn.
≈ $3.00 · instant PDF download
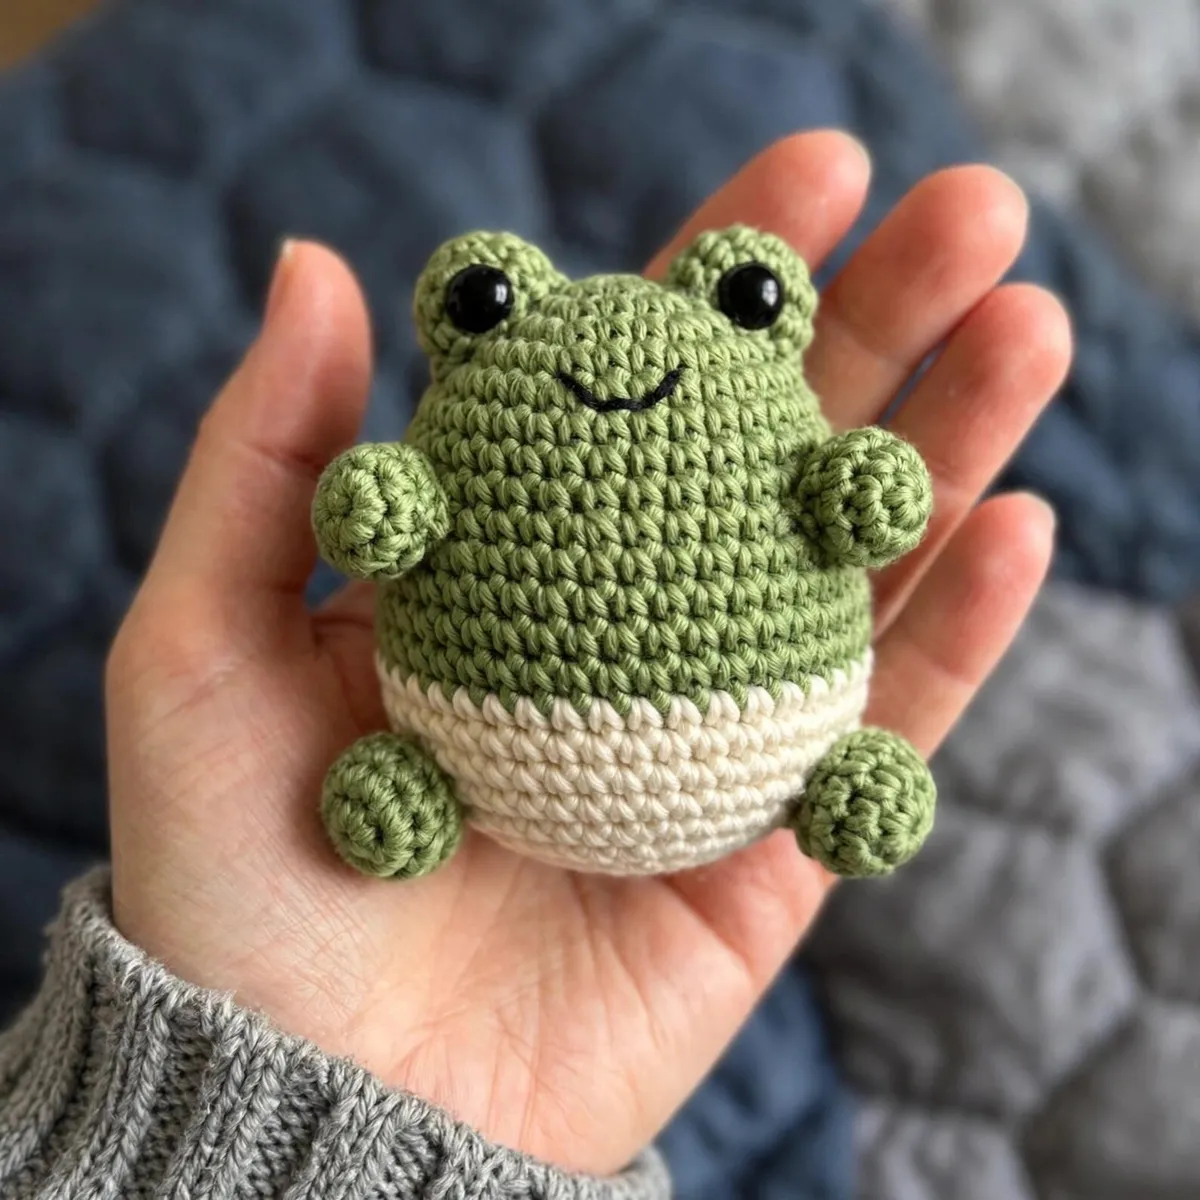
No-Sew Mini Sitting Frog · LoopSouk pattern
Meet the LoopSouk no-sew mini sitting frog: one piece, bobble legs worked in, a cream belly by yarn change, and an optional keychain loop. 8–9 cm, DK yarn, 3.5 mm hook.
≈ $3.00 · instant PDF download
Where you will use it in a typical amigurumi
In a small round toy, increases build the bottom half and decreases close the top half. A typical head might increase to 36 stitches, work several even rounds, then decrease back down: (sc 4, dec) x6, (sc 3, dec) x6, and so on until 6 stitches remain. That can mean thirty or more decreases in one head, so the difference between a bumpy sc2tog and a smooth invisible decrease is easy to see. Decreases also shape necks, the narrow end of an axolotl's tail, and the bottom of a sitting body so it stands flat. Whenever a pattern says dec, you can use the invisible version.
Invisible decrease for left-handed crocheters
The method is exactly the same, mirrored. You still go under the front loops of the next two stitches; they simply sit to your right rather than your left. If you are following a right-handed video, try watching it in a mirror or flipping the image in your video player.
FAQ
What is the difference between an invisible decrease and a regular decrease?
An invisible decrease goes through the front loops only of two stitches, leaving a smooth surface. A regular sc2tog goes through both loops of each stitch and leaves a small visible bump or gap.
Can I use an invisible decrease in any amigurumi pattern?
Yes. It reduces the stitch count by one, just like sc2tog, so you can use it wherever a pattern says "dec" or "sc2tog" in work done in the round.
Why does my invisible decrease leave a hole?
Usually the loops were not pulled snug, or the hook went through a back loop by mistake. Use only the two front loops and tighten the yarn after each decrease.
Does the invisible decrease work with chenille or plush yarn?
Yes, although the loops are harder to see. Feel for the front loops with your hook tip and count every round with a stitch marker.
How is an invisible decrease written in patterns?
Usually as "dec" or "inv dec". Some patterns use "sc2tog" and leave the method up to you. In amigurumi you can use the invisible version for either.
Looking for your next project? See every LoopSouk PDF pattern in one place, each with its own article and Etsy link.
Browse all LoopSouk patterns

